If you’ve ever walked into a mid-sized analytical lab that’s been operating for 10+ years, you’ll probably spot a pattern: the front-loading bench has a 2008-vintage HPLC system that still works (sort of), the trace gas analysis unit grinds through a full day of runs and then needs a 4-hour cool-down, and the lab manager’s calendar is half-filled with equipment calibration reminders and old service contract renewals. As a laboratory analytical instruments supplier, I talk to lab leaders like this at least three times a week, and the question that comes up more than any other isn’t “Should we upgrade our instruments?”—it’s “How do we upgrade without shutting down operations, blowing the budget, or turning our team’s routine upside down?” Laboratory Analytical Instruments
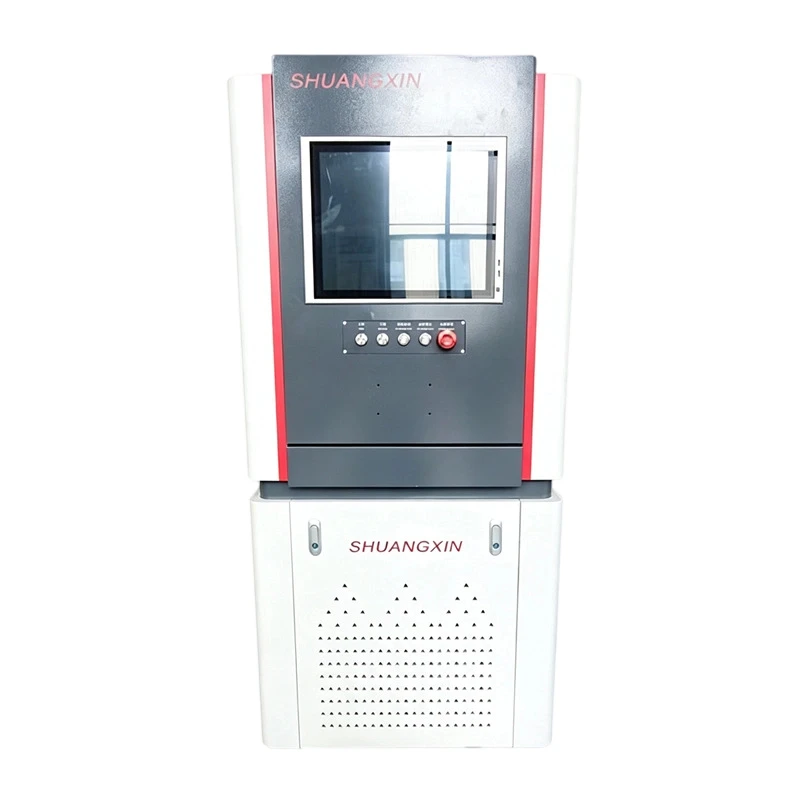
Upgrading lab analytical instruments isn’t just about replacing old hardware with newer models. It’s about aligning new tools with your lab’s specific goals, minimizing disruption to daily workflows, and making sure the upgrade delivers measurable value—whether that’s faster run times, more accurate data, or less time spent on maintenance. Over the past 12 years I’ve worked with labs ranging from small environmental testing facilities to big pharma R&D teams, and I’ve seen both smooth, successful upgrades and ones that turned into months of delays and overspending. The difference almost always comes down to planning, not just product specs.
Let’s start with the most common mistake I see: waiting until an old instrument breaks down to shop for a replacement. I recently talked to a food safety lab that had a 15-year-old mass spectrometer that died during a routine audit. They scrambled to get a new one in two weeks, paid a premium for expedited shipping, and their team spent a month untangling incompatible software and retraining on a new system that didn’t fit their existing method libraries. That chaos is avoidable if you build an upgrade roadmap that accounts for the lifecycle of your current instruments. Most analytical instruments have a 7-10 year useful life before parts become obsolete and support becomes spotty. If your system is approaching that window, start exploring options 1-2 years before it’s critical—this gives you time to test models, align with your budget, and arrange a phased rollout.
Once you know you’re ready to upgrade, the next step is to audit your current needs. It sounds basic, but so many labs skip this part and end up with instruments that do things they don’t need, or miss key features that would have saved them hours of work. For example, a soil testing lab I worked with a few years ago wanted a new elemental analyzer. The initial specs they pulled focused on maximum throughput, but when we sat down with their lead chemist, we realized most of their runs were low-volume, multi-method samples. They didn’t need a high-capacity model that processed 200 samples a day—they needed a smaller, more flexible system that could switch between 5 different elemental methods without hours of re-calibration. That single adjustment cut their upgrade cost by 30% and increased their method compatibility by 40%.
To do this audit right, pull together a cross-functional team. Your lab manager knows the day-to-day bottlenecks, your senior analysts know the pain points of running methods, your finance team knows the budget constraints, and if you’re part of a regulated industry (like pharma or environmental testing), your compliance officer knows the requirements for data integrity and audit trails. When we walked that soil testing lab through this, we also realized they were wasting 8 hours a week manually logging data from their old analyzer, because the system didn’t integrate with their existing LIMS (Laboratory Information Management System). That feature became a non-negotiable part of their upgrade, not a nice-to-have.
Next, test before you buy. Too often, labs rely on sales brochures or demos that only show the best-case scenarios, and then get surprised when the instrument doesn’t perform in their actual lab conditions. As a supplier, we always encourage potential customers to run their own real samples on our equipment during a trial period—usually 2-4 weeks, free of charge. This isn’t a favor; it’s how we make sure the instrument fits. I remember a water testing lab that tested a new ion chromatography system with their chlorine and nitrate samples, only to discover the new system’s column wore out twice as fast as the old one when processing their hard, mineral-rich source water. That would have been a costly mistake if they’d bought it without testing. Trials also give your team a chance to get hands-on, which reduces training time later. If your analysts can run their routine samples on the test instrument during the trial, they’ll feel much more comfortable with the new system when it’s installed.
When you’re ready to move forward with a purchase, think beyond the upfront cost. Analytical instruments come with hidden costs that can add 20-30% to the total price over the first 5 years. This includes service contracts, calibration supplies, replacement parts, software updates, and training. A cheaper instrument might have higher ongoing costs if it requires specialized parts or more frequent calibration. I once had a customer who chose a low-cost UV-Vis spectrometer that saved them $5,000 upfront, but their annual service and part costs were $3,000 more than a slightly more expensive model we offered because the low-cost system used proprietary parts that only the manufacturer could supply. Always ask for a total cost of ownership (TCO) breakdown when comparing options—not just the sticker price.
Now, the part that causes the most stress for lab leaders: installing the new instrument without disrupting daily operations. The key here is a phased rollout, not a full swap. Instead of yanking out the old HPLC system on a Monday morning and having no instrumentation for a week, we recommend running both systems in parallel for 2-4 weeks. During this time, you can validate the new instrument’s data against the old one to make sure results are consistent, train your team on the new system while still having the familiar old one to fall back on, and work out any kinks in the LIMS integration or method transfers. This approach also gives you a buffer if something goes wrong during installation—you still have your old system to keep operations running while you fix the new one.
Another tip here: assign a dedicated point person for the upgrade. This shouldn’t be your overloaded lab manager. It could be a senior analyst who’s already comfortable with new technology, or a specialist from your supplier’s team. This person will handle scheduling installation, coordinating training, troubleshooting any issues, and acting as the single point of contact for all upgrade-related questions. I’ve seen upgrades drag on for months because multiple people were fielding calls about installation or software issues, leading to miscommunication and delays. Having one person in charge keeps things on track.
Training is the final piece of the upgrade puzzle, and it’s one that’s often overlooked. Even the most well-designed instrument will underperform if your team doesn’t know how to use it correctly. The best training isn’t a one-day classroom session. It’s a mix of in-person, hands-on training at your lab, self-paced online modules, and ongoing support for the first 3 months after installation. For regulated labs, we also help with method validation and documentation, which is a huge weight off compliance teams. I worked with a biotech lab that spent 6 months writing validation protocols for their new qPCR system, and our application specialists walked them through every step, so they didn’t have to do it alone. That cut their validation time in half and got the new system generating usable data much faster.
Once the upgrade is complete, don’t forget to review it. 6 months after the new instrument is up and running, sit down with your team and ask: did this upgrade solve the problems we set out to fix? Are there any features we’re not using that we thought we would? Are there new bottlenecks that came with the new system? This feedback doesn’t just help you adjust to the new equipment—it helps future labs that are making the same upgrade. At the end of the day, upgrades aren’t just about new tools; they’re about making your lab more efficient, your team’s work easier, and your data more reliable.
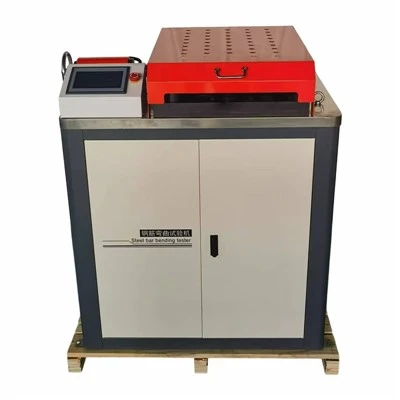
If you’re ready to explore upgrading your laboratory analytical instruments, or if you have questions about the best path for your lab, feel free to reach out to discuss your specific needs and timelines. We work with labs of all sizes, across every regulated and non-regulated industry, to build customized upgrade plans that minimize disruption and deliver long-term value.
Biochemical Incubation Equipment References
- Lab Management & Strategy Institute. (2022). Lifecycle Management for Analytical Laboratory Instruments: Best Practices. Journal of Laboratory Operations, 18(3), 45-52.
- American Society for Testing and Materials. (2021). Standard Guide for Upgrading Analytical Laboratory Equipment (E3154-21). ASTM International.
- International Society for Pharmaceutical Engineering. (2020). Risk-Based Approach to Analytical Instrument Upgrade Validation. ISPE Good Practice Guide.
- National Environmental Laboratory Association. (2023). Total Cost of Ownership for Field and Laboratory Analytical Equipment. NELA Technical Report Series, No. 14.
Hebei Wanluda Testing Instrument Equipment Co., Ltd.
As one of the most professional laboratory analytical instruments manufacturers and suppliers in China, we have world-leading production equipment and strong manufacturing capabilities. Please rest assured to buy advanced laboratory analytical instruments made in China here from our factory.
Address: Zhouguantun Village, Xian County, Cangzhou City, Hebei Province, P.R.China
E-mail: wldinstrument@163.com
WebSite: https://www.wldinstrument.com/
